


 Print Article
 Twine - Unboxing, Setup and First Impressions

Contents
Unboxing
Eleven months ago, I backed a startup project on Kickstarter called Twine.
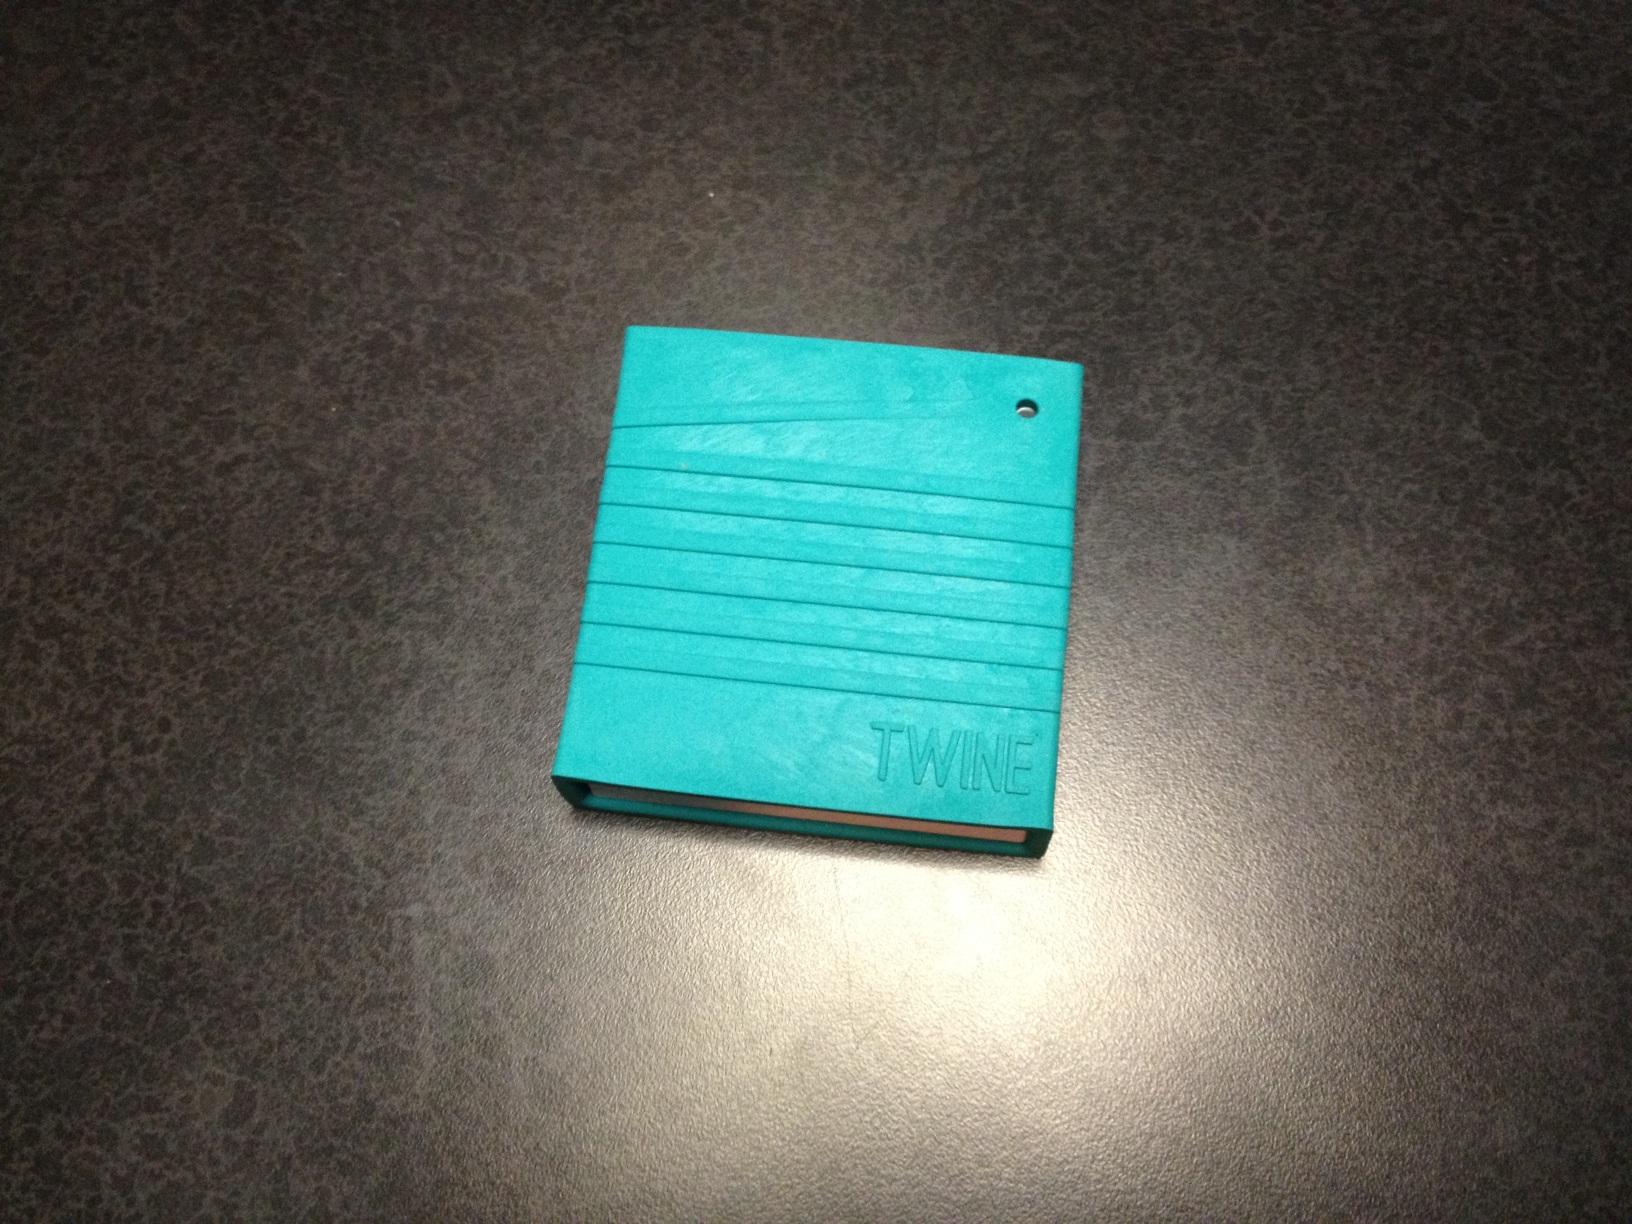
TWINE
Listen to your world, talk to the Internet
Want to monitor things and environments remotely without a nerd degree? Maybe you want to get a tweet when your laundry's done, an email when the basement floods, or a text message when you left the garage door open.
Twine is the simplest way to get the objects in your life texting, tweeting or emailing
My long awaited Twine finally arrived today.
You can order a Twine device here:
It came packaged in an unassuming and simple cardboard box.
;)
;)
;)
;)
Upon opening the cardboard box, the Twine hardware device was revealed in a top compartment.
;)
Lifting the Twine hardware out of the box reveals a finger hole to remove the upper compartment divider.
;)
;)
The lower compartment holds the supplied AAA batteries and any additional sensor accessories that were included in the order. My order only included the Breakout Board accessory. A mini phono cable is also included to connect the sensor board to the Twine hardware.
;)
;)
Install the AAA batteries and then slide the Twine cover shut.
;)
;)
;)
Once the batteries are installed place the Twine upside down on a flat surface and the white LED should remain on. This prepares the Twine to be configured for network access. Proceed to twinesetup.com to begin the configuration process.
;)
;)
Configuration
PREREQUSITE:
You will need to perform these steps from a computer with a wireless network card/adapter installed.
STEP 1 : Open a web browser to twinesetup.com to begin the configuration process. Once the web page is displayed, place the Twine upside down on a flat surface. Click the "I can see the light" button when the white LED light is on solid and not blinking.
;)
STEP 2 : Next, change your computer's wireless connection to connect to the "\\||| Twine" access point.
;)
Once connected, the web page will display a "Success" message and then automatically load the next page.
;)
STEP 3 : Next, select the wireless network that you want the Twine to connect to and provide a password if required.
(You must connect to an access point that is broadcasting an SSID)
;)
STEP 4 : After the wireless network connection has been configured flip the Twine and set it on its back on a flat surface.
(The "TWINE" logo should be facing up.)
;)
STEP 5 : Next, change your computer's wireless connection back to your private wireless access point/router.
;)
Once connected back to your private wireless network (with Internet access), the configuration page will display an "Excellent!" message and then automatically load the next configuration page.
;)
The next part of the configuration is associating your Twine hardware with a cloud-based account. If you do not have an existing Twine account, then use the displayed form to create a new account. If you already have an existing Twine account, then use the "Sign-In" link at the top of the page.
;)
Existing accounts can simply logon with their user credentials.
;)
Next, the configuration pages will determine if the Twine hardware is eligible for any firmware updates. If a firmware update is available, you will be prompted with an update message.
;)
To start the firmware update, you will be prompted to flip the Twine over on its back again.
;)
Please wait while the firmware update installs.
;)
Once the firmware update is complete, a success message will be displayed on the configuration page.
;)
The final configuration step is to assign a friendly name to the Twine unit. Click the Finish button after you have provided a name.
;)
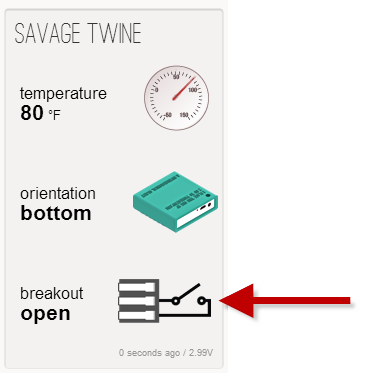
Your Twine is now successfully configured and ready for use. You can change the orientation of the Twine and see it updated on the dashboard page. You can also create rules that allow you to specify conditions that trigger actions. Rules are what make the twine do something with the data it collects.
;)
Optional Accessory Sensors
After configuring your Twine, you can insert the provided phono cable into any of the optionally purchased sensor boards and into the Twine.
;)
The sensor will be displayed on your Twine Dashboard momentarily.
First Impressions / Thoughts
My first impressions of the Twine are very favorable. The hardware, plastics, and packaging are top notch. The tactile feel is inviting and size of the Twine is ideal. I was blown away with the initial setup/configuration process. Configuring a device with no display and no inputs can be very challenging and difficult for users to setup on private networks. Twine's approach of using it as a temporary WiFi hot-spot and the seamless integration of the configuration web application is unsurpassed. I literally had my Twine configured and attached to wireless my network in less than 5 minutes. That is a remarkable feat.
I do however have some longer term concerns/opinions ...
- The usefulness of the Twine is totally predicated on the web software where rules can be applied and triggered actions take place. While admittedly the web application is currently in its infancy, it is pretty basic and very limited at the moment. We will need to see some aggressive advances in the web software to keep pace and promote more uses of the Twine as a platform.
- Again, the Twine is in early adoption right now, but some form of an programmatic API must be provided to allow software developers further enhance and integrate with the Twine hardware. An open API will help promote integrations with other systems and devices and not require Supermechanical to do all the heavy lifting. Build a development community and encourage and support developers to take the Twine from an interesting and fun little device to a real platform.
- The early adopter cost was in the $100 range. I believe these costs will need to come down dramatically to encourage general adoption. I could see a large number of Twines spread throughout my house all performing unique and discrete little tasks, but the costs would need to be more affordable to make this viable.
- Currently the Twine hardware and its sensor accessories are all about inputs. Outputs are another important aspect that will need to be addressed. Not only do I want to send information in to The Cloud, but I also want to trigger outputs to turn on and off things in the real world. The Internet-of-Things is bidirectional.
Despite my conerns, this device is still an impressive little beast. The magic is really in the software/firmware and with what we have seen thus far, we can continue to expect an elegant, intuitive and easy to use web user interface for working with the Twine. I do believe that Supermechanical will continue to improve on the software/firmware and we will see some very cool hobbyist projects emerge. I am looking forward to participating in a development community when an API emerges.
A twitter trigger is coming in the next software update, so I have a small project in mind to setup when that feature becomes available. Stay tuned for more articles to come involving Twine.
